The Software Engineer's Deep Dive into LLM-Powered Agent Architectures
This project, titled "《从零开始构建智能体》——从零开始的智能体原理と実践教程" (Building Agents From Scratch
A Tutorial on Agent Principles and Practice), is designed to be a comprehensive, hands-on guide.
Here's a breakdown of how it's useful for you, how you can get started, and an idea of what the code might look like, all from a software engineer's perspective.
This tutorial provides a solid, practical foundation in a rapidly evolving and highly valuable domain. It's useful in several key ways
You'll move beyond just calling an API. The tutorial focuses on building an agent from scratch, meaning you'll learn the fundamental components that make up an intelligent agent
Perception
How agents gather and process information from the environment (e.g., using LLMs for context).
Reasoning/Planning
The logic or mechanism that allows the agent to decide what action to take next. This often involves prompt engineering and defining decision-making loops.
Action
How the agent interacts with its environment or other systems (e.g., using tools, executing code, sending messages).
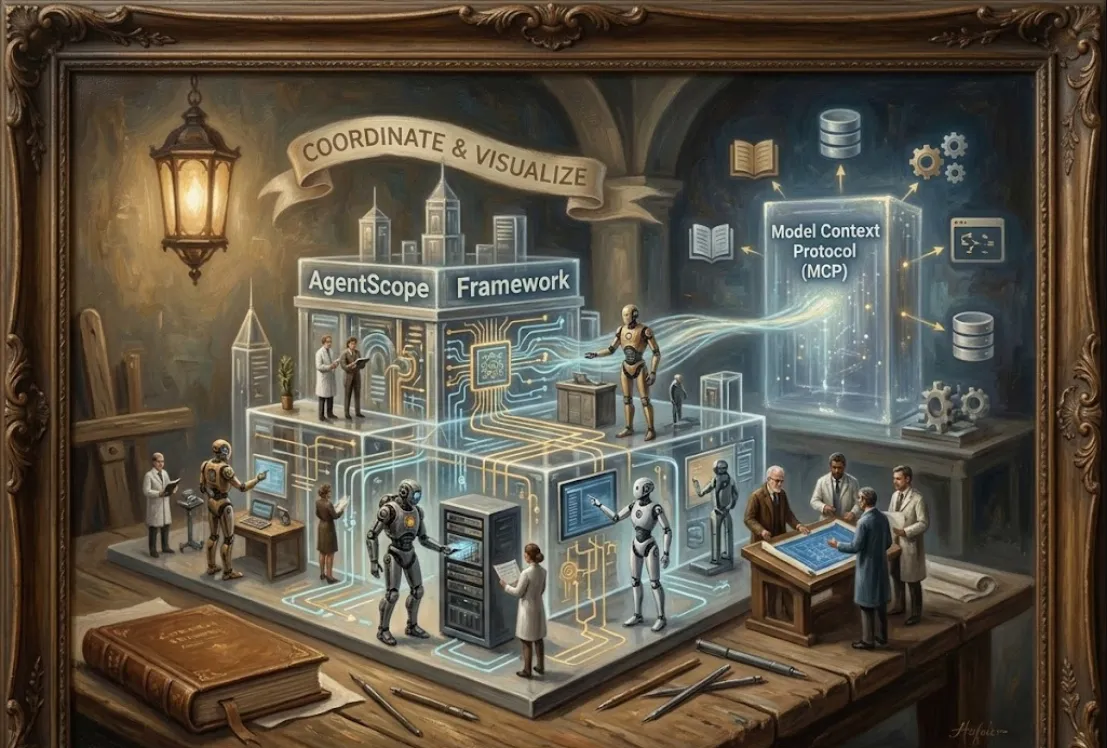
This is a crucial, advanced topic. The tutorial’s focus on multi-agent systems teaches you how to
Design Communication Protocols
How different agents can effectively talk to each other to solve a complex, shared task.
Manage Collaboration and Conflict
Designing roles (e.g., planner, coder, critic) and systems to ensure agents work together efficiently, avoiding repetitive or conflicting actions.
Develop Scalable Solutions
Multi-agent systems are inherently more complex but can handle more sophisticated real-world tasks (like a team of software developers, a financial simulation, or a complex robotic control system) much better than a single, monolithic agent.
As a software engineer, your agents won't just "think"—they'll need to act. The tutorial likely covers how to give your agents "tools" or "functions" to interact with the real world, such as
Calling external APIs (e.g., a weather service).
Executing Python code in a sandboxed environment.
Performing searches using Google or other search engines.
Since this is a GitHub repository, the introduction process follows standard software engineering practices.
You'll need a few things set up on your machine
Python
The tutorial is almost certainly based on Python.
Git
To clone the repository.
An API Key
You will likely need an API key for a large language model (LLM), such as OpenAI's, to power the agents' intelligence.
Clone the Repository
Open your terminal and use the git command to download the code.
git clone https://github.com/datawhalechina/hello-agents.git
cd hello-agents
Set up the Environment
Create a virtual environment to manage dependencies and install the necessary libraries.
python -m venv venv
source venv/bin/activate  # On Windows, use: .\venv\Scripts\activate
pip install -r requirements.txt
Set Environment Variables
Configure your API key so your code can access the LLM service.
export OPENAI_API_KEY="YOUR_API_KEY_HERE"
Explore the Documentation
The core learning will be in the project's documentation (likely in the docs/ folder or as Markdown files in the main directory). Start with the README.md and the initial lesson files.
While I don't have the exact code from the repository, I can provide a conceptual Python snippet that illustrates the core loop of a simple, single agent, which is the foundational building block of the tutorial.
This example shows the basic structure of an Agent Class that uses an LLM to decide on the next action (the "Reasoning" step).
import os
from openai import OpenAI

# 1. Initialization (Perception & Tools)
class SimpleToolAgent:
    def __init__(self, name, client):
        self.name = name
        self.client = client
        # Tools the agent can use
        self.available_tools = {
            "get_current_time": self.get_current_time,
            "search_web": self.search_web
        }

    # Example Tool 1: A function the agent can execute
    def get_current_time(self):
        """Returns the current date and time."""
        # In a real system, this would fetch the actual time
        return "The current time is 10:30 AM."

    # Example Tool 2: A function for searching
    def search_web(self, query):
        """Searches the web for the given query."""
        return f"Found a relevant article on '{query}'."

    # 2. Reasoning Loop
    def execute_task(self, task_description):

        # The prompt defines the agent's role and its tools
        system_prompt = (
            f"You are a helpful assistant agent named {self.name}. "
            f"Your task is: {task_description}. "
            "Use the provided tools only if they are necessary to complete the task."
        )

        response = self.client.chat.completions.create(
            model="gpt-4o", # A powerful model for reasoning
            messages=[{"role": "system", "content": system_prompt}],
            # Enable tool use (Function Calling)
            tools=[{"type": "function", "function": {"name": name, "description": func.__doc__}}
                   for name, func in self.available_tools.items()]
        )

        # 3. Action / Output
        return response.choices[0].message.content

# --- Running the Agent ---
# client = OpenAI(api_key=os.environ.get("OPENAI_API_KEY"))
# my_agent = SimpleToolAgent("PlannerAgent", client)
#
# task = "What is the current time and what is the latest news about Python?"
#
# result = my_agent.execute_task(task)
# print(result)
By exploring the datawhalechina/hello-agents code, you'll see how this basic concept is extended into a sophisticated multi-agent framework, where the result from one agent (e.g., the PlannerAgent) becomes the task_description for another agent (e.g., the CoderAgent).