MCP-Based Chatbot on ESP32: A Software Engineer's Perspective and Implementation

As a software engineer, this project offers several valuable opportunities, primarily in IoT (Internet of Things), Edge Computing, and AI Integration.
This project is beneficial for software engineers in several key areas
Low-Cost AI Deployment
You can use cheap, readily available ESP32 microcontrollers to create sophisticated voice assistants. This is a game-changer for budget-conscious projects or mass-market IoT devices.
Edge Computing Focus
The ESP32 handles Voice Activity Detection (VAD) and Audio Processing locally. This is an example of edge computing, where processing is done close to the user, reducing latency and reliance on constant, high-bandwidth cloud connectivity for all tasks.
Protocol Implementation
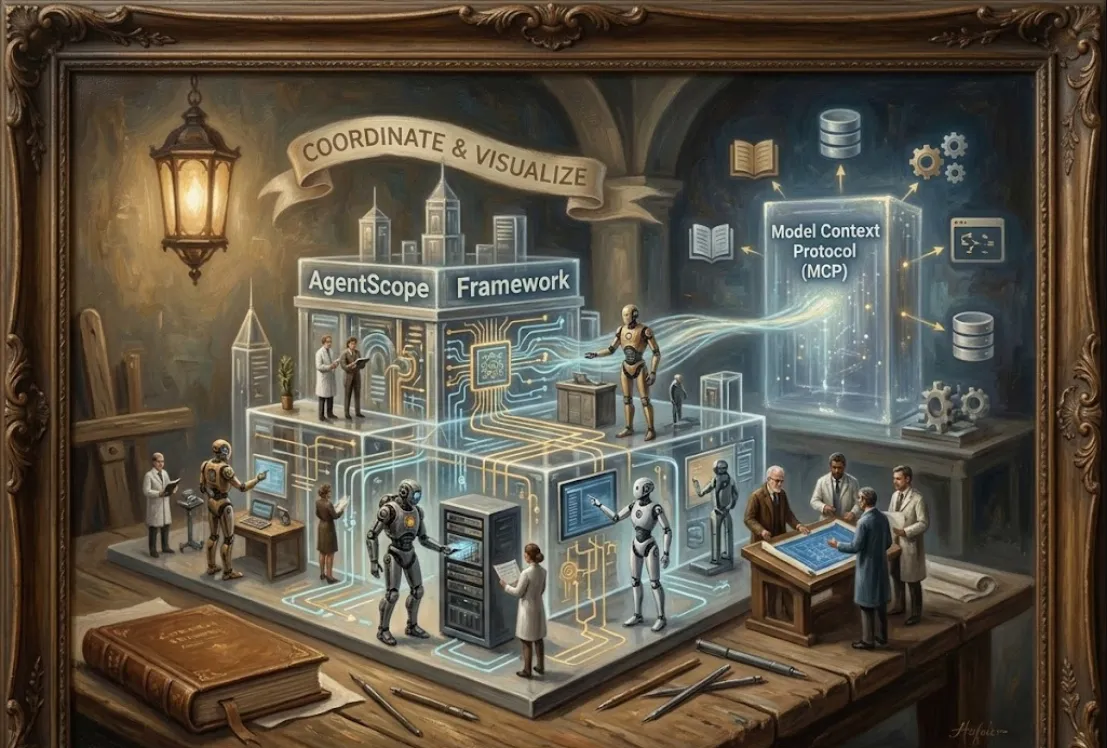
The project uses MCP (Model Context Protocol), which is an open protocol for AI-powered device control. Engineers gain experience in implementing custom or open protocols over WebSocket or UDP for real-time, low-latency communication with a cloud server hosting the LLM/TTS (Text-to-Speech) APIs.
Voice Control Interface
The chatbot acts as a natural language interface for IoT control. This is crucial for developing devices that can be integrated into smart home ecosystems like Home Assistant (as indicated in the search results).
Platform Development
Since it's open-source, you can customize it to work with proprietary backend services or integrate specific hardware components, turning it into a specialized platform for a given application (e.g., industrial monitoring, specialized home automation).
ESP-IDF Mastery
The project uses the ESP-IDF (Espressif IoT Development Framework), giving engineers a real-world, complex application to master embedded C/C++ development on the ESP32 platform, including network stacks and hardware peripherals (audio, Wi-Fi).
To integrate or experiment with the 78/xiaozhi-esp32 project, follow these general steps
Install ESP-IDF
You'll need the ESP-IDF (Espressif IoT Development Framework), as the project is built on it. It's recommended to use VSCode with the ESP-IDF Extension for an integrated development experience.
Hardware
Obtain a compatible ESP32 board, preferably one with sufficient RAM (8MB or more is often recommended for these types of AI projects) and integrated microphone/speaker capabilities (e.g., M5Stack CoreS3, ESP32-S3-BOX3, or similar boards with an audio shield).
Clone the Repository
Use Git to clone the source code
git clone https://github.com/78/xiaozhi-esp32.git
cd xiaozhi-esp32
Configuration
The project requires configuration to connect to your Wi-Fi network and the cloud server hosting the LLM/TTS APIs. This is typically done through the ESP-IDF menuconfig system
idf.py menuconfig
Navigate to the project configuration to enter your Wi-Fi SSID and Password, and the Server Address for the chatbot backend (which you'll need to set up separately).
Cloud Service
This ESP32 project does not run the LLM itself; it's a client. You must set up a backend server that communicates with the actual LLM (like OpenAI, Qwen, DeepSeek, etc.) and performs the TTS/STT (Speech-to-Text) conversion.
Use Existing Backends
The repository documentation often links to community-maintained backend projects in Python, Java, or Golang (e.g., xinnan-tech/xiaozhi-esp32-server). You'll need to deploy one of these servers, typically on a VPS (Virtual Private Server) or a local machine.
Build the Firmware
Compile the project
idf.py build
Flash to ESP32
Connect your board and flash the firmware
idf.py flash
Test
Monitor the serial output to check the Wi-Fi connection and server communication. Once connected, use the designated wake-up word (e.g., "你好小智" / "NiHao XiaoZhi") to start an interaction.
Since the core logic is a large embedded C++ project, providing a full, running example here is impractical. Instead, here is a conceptual C-style pseudocode snippet demonstrating the MCP Client Logic on the ESP32, which is the core of its network interaction.
This snippet illustrates the flow of sending a user's transcribed voice (STT result) and receiving an AI response over a WebSocket connection.
#include "esp_websocket_client.h"

// Define the structure for an MCP request
typedef struct {
    char protocol_version[10];
    char device_id[30];
    char context[1024]; // User's voice command/text
    // ... other MCP fields
} mcp_request_t;

// WebSocket event handler (partially shown)
void websocket_event_handler(void *handler_args, esp_event_base_t base, int32_t event_id, void *event_data) {
    // ... event handling logic
    if (event_id == WEBSOCKET_EVENT_DATA) {
        esp_websocket_event_data_t *data = (esp_websocket_event_data_t *)event_data;
        // The ESP32 receives the AI's response (LLM output + TTS data)
        printf("Received MCP Response: %.*s\n", data->data_len, data->data_ptr);

        // **Engineers' Task:** Parse the MCP response (often JSON)
        // to extract the text and the audio data (TTS).
        // Then, queue the audio data for playback.

        // Example: Play audio chunk
        // audio_playback_queue_data(parsed_audio_chunk);
    }
}

// Function to send a voice command to the MCP server
void send_voice_command(esp_websocket_client_handle_t client, const char* voice_text) {
    mcp_request_t request;

    // 1. Prepare the MCP request payload
    // In a real implementation, you'd use a JSON library like cJSON
    // to build a proper MCP message body.

    // Example of a simple JSON structure to send:
    // {"action": "query", "device_id": "...", "text": "Turn on the light"}
    char mcp_payload[2048];
    snprintf(mcp_payload, sizeof(mcp_payload),
             "{\"action\":\"query\",\"device_id\":\"ESP32_DEV_01\",\"text\":\"%s\"}", voice_text);

    // 2. Send the request over WebSocket
    if (esp_websocket_client_is_connected(client)) {
        esp_websocket_client_send_text(client, mcp_payload, strlen(mcp_payload), portMAX_DELAY);
        printf("Sent MCP Query: %s\n", mcp_payload);
    }
}

// Main application loop (simplified)
void app_main(void) {
    // ... Wi-Fi and WebSocket initialization (client setup with event_handler)
    esp_websocket_client_handle_t client = init_websocket_client("ws://your-server-ip/mcp");

    while (1) {
        // ... Wait for Wake-Word detection or button press
        // ... Record user's speech

        // Assuming STT (Speech-to-Text) on the server returns this:
        const char* user_command = "Turn on the living room lights";

        if (/* Speech recognized and valid */) {
            send_voice_command(client, user_command);
        }

        vTaskDelay(pdMS_TO_TICKS(100)); // Sleep briefly
    }
}