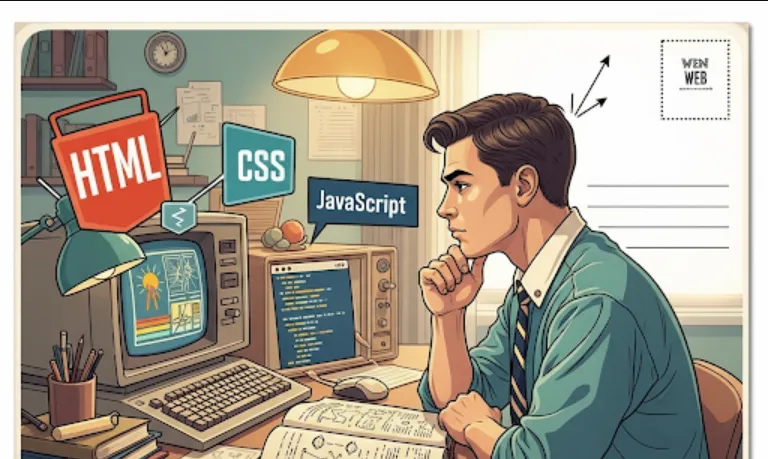
Bootstrap for Software Engineers: A Guide to Faster Web Development

As a software engineer, your goal is to build robust, scalable, and maintainable software efficiently. Here's how Bootstrap helps
Saves Time
Bootstrap provides pre-built, reusable components and styles. Instead of writing CSS from scratch for buttons, navbars, or forms, you can just use Bootstrap's classes. This frees up your time to focus on the application's core logic and functionality.
Ensures Responsiveness
In today's multi-device world, a website must look great on desktops, tablets, and phones. Bootstrap's grid system is a flexible and powerful way to build responsive layouts that adapt automatically to different screen sizes. You don't have to write complex media queries for every device.
Standardizes UI/UX
By using Bootstrap, you ensure a consistent look and feel across your application. This leads to a better user experience and makes your codebase easier to maintain. You'll be working with a widely-adopted standard, which is great for collaboration with other developers.
Large Community & Documentation
Since it's so popular, Bootstrap has a massive community. This means you can easily find solutions to problems, get help from forums, and access extensive, well-written documentation. This is a huge benefit for troubleshooting and learning.
Customizable
While it provides a default theme, Bootstrap is highly customizable. You can use its Sass source files to change variables like colors, fonts, and spacing to match your brand's design, or you can use a custom build tool to create a lighter, more specific version.
There are a few ways to include Bootstrap in your project. The easiest way for a new project is to use a CDN (Content Delivery Network). For more advanced projects, you might install it with a package manager.
This is perfect for simple projects or for quickly prototyping. You just need to add a few <link> and <script> tags to your HTML file.
<!doctype html>
<html lang="en">
  <head>
    <meta charset="utf-8">
    <meta name="viewport" content="width=device-width, initial-scale=1">
    <title>Bootstrap Example</title>
    <link href="https://cdn.jsdelivr.net/npm/[email protected]/dist/css/bootstrap.min.css" rel="stylesheet" integrity="sha384-QWTKZyjpPEjISv5WaRU9OFeRpok6YctnYmDr5pNlyT2bRjXh0JMhjY6hW+ALEwIH" crossorigin="anonymous">
  </head>
  <body>
    <h1>Hello, Bootstrap!</h1>

    <script src="https://cdn.jsdelivr.net/npm/[email protected]/dist/js/bootstrap.bundle.min.js" integrity="sha384-YvpcrYf0tY3T3lJ1jI1eQ7bL3p0+dK4QvL4fN+F9vK0fX6JmPjT4aJ+1qX" crossorigin="anonymous"></script>
  </body>
</html>
If you're using a build tool like Webpack, Vite, or Parcel, installing with npm is the way to go. It gives you more control and is better for managing dependencies.
npm install [email protected]
Then, you can import the necessary styles and JavaScript into your project's main files.
// In your main JavaScript file (e.g., app.js)
import 'bootstrap';

// In your main CSS/Sass file (e.g., style.scss)
@import "~bootstrap/scss/bootstrap";
Let's see how Bootstrap makes it easy to create a professional-looking UI component. Instead of writing custom CSS for a card with an image, title, and text, you can use Bootstrap's pre-built classes.
<div class="card" style="width: 18rem;">
  <img src="https://via.placeholder.com/300x200" class="card-img-top" alt="...">
  <div class="card-body">
    <h5 class="card-title">Card Title</h5>
    <p class="card-text">Some quick example text to build on the card title and make up the bulk of the card's content.</p>
    <a href="#" class="btn btn-primary">Go somewhere</a>
  </div>
</div>
card
This class defines the main container for the card.
card-img-top
This class styles the image at the top of the card.
card-body
This class provides padding and spacing for the card's content.
card-title
This styles the title text.
card-text
This styles the main body text.
btn and btn-primary
These classes turn the link into a styled, primary-colored button.