The Software Engineer's Guide to Flowise: Visual AI Workflow and React Integration
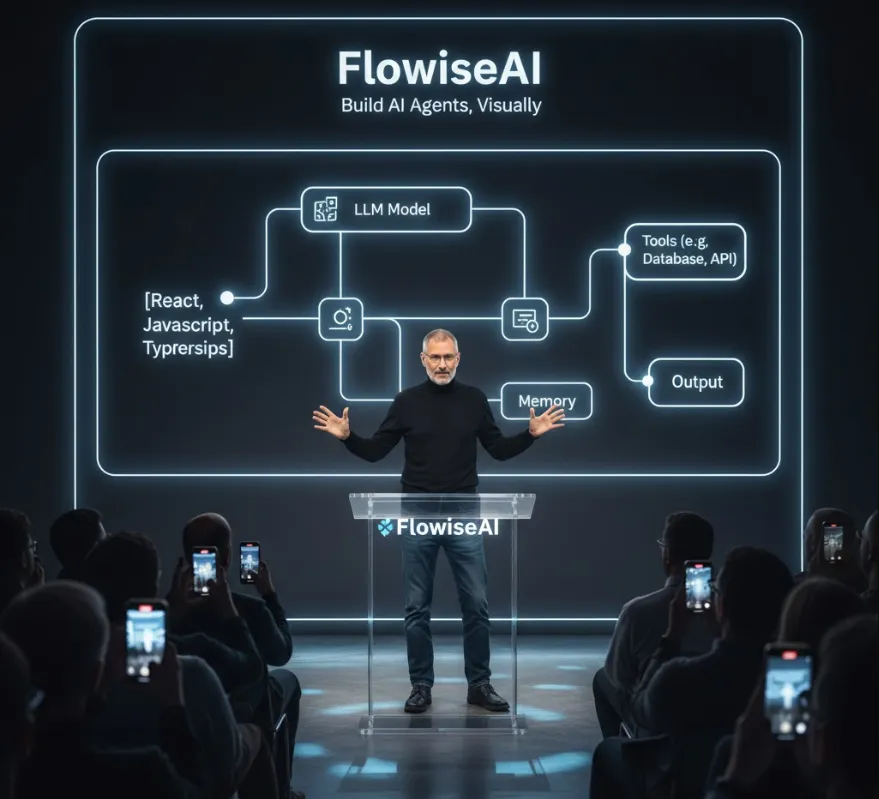
Flowise is an open-source, low-code platform that lets you visually build and deploy Large Language Model (LLM) workflows and AI agents. Think of it as a drag-and-drop interface for creating complex LLM logic, which significantly speeds up development time.
From a software engineer's perspective, Flowise is incredibly valuable because it abstracts away much of the boilerplate and complexity involved in LLM development, allowing you to focus on integration and product features.
| Benefit | Explanation |
| Rapid Prototyping | You can quickly design, test, and iterate on complex AI workflows (like RAG systems, tool-using agents, etc.) visually, without writing thousands of lines of integration code. |
| Low-Code Orchestration | It handles the complex "plumbing" of connecting LLMs, vector databases, tools, and data sources (like LangChain components), freeing you from managing this logic in pure code. |
| Developer-Friendly Integration | Once a workflow (called a "Chatflow") is built, Flowise exposes it via a simple REST API and dedicated JavaScript/TypeScript SDKs, making integration into your front-end apps (React, Next.js, etc.) straightforward. |
| Full Stack Control | Since it's open-source, you can self-host the platform, giving you complete control over the backend server, deployment, and customization. |
| Visual Debugging | The visual editor provides execution traces, making it easier to monitor and debug how your AI agent processes an input and generates an output. |
Before integrating with React, you need to get the Flowise backend running. It's built on Node.js and can be installed via npm or Docker.
The quickest way to get Flowise running locally is via npm (Node.js must be installed, version ≥18.15.0).
# Install Flowise globally
npm install -g flowise

# Start the Flowise server
npx flowise start
By default, the Flowise UI will be accessible at http://localhost:3000. You'll use this local server address (apiHost) when connecting from your React application.
Once Flowise is running
Open http://localhost:3000 in your browser.
Create a new Chatflow (the visual workflow for your AI agent).
Drag and drop nodes (LLMs, Chains, Agents, Vector Stores, etc.) and connect them to define your AI logic.
Save the Chatflow. You will get a unique Chatflow ID (e.g., a1b2c3d4-e5f6-7890-abcd-ef0123456789). This ID is essential for integration.
Flowise provides a dedicated React component library that makes embedding the chatbot UI into your React application extremely simple. For custom API calls, you can use the REST API or the JavaScript SDK.
The flowise-embed-react package allows you to embed a fully functional chat widget with minimal code.
npm install flowise-embed-react
# or
yarn add flowise-embed-react
Here's how to embed a simple pop-up bubble chat into your React component
// src/components/FlowiseChatbot.tsx
import React from 'react';
import { BubbleChat } from 'flowise-embed-react';

const FlowiseChatbot: React.FC = () => {
  //  IMPORTANT: Replace these with your actual values!
  const chatflowId = "YOUR_CHATFLOW_ID_FROM_FLOWISE";
  const apiHost = "http://localhost:3000"; // Or your deployed Flowise server URL

  return (
    <div>
      <h1>My AI-Powered React App</h1>
      {/* ... other app content ... */}

      <BubbleChat
        chatflowid={chatflowId}
        apiHost={apiHost}
        // Optional: Customize the appearance
        theme={{
          button: {
            backgroundColor: '#1E40AF',
          },
        }}
      />
    </div>
  );
};

export default FlowiseChatbot;
You can also use <FullPageChat /> for a dedicated, full-screen chat interface.
If you need more control, such as sending a question from a custom input field and displaying the raw AI response outside of the default chat widget, you can use the Flowise REST API endpoint directly or their official SDK (though the React embed is often easier for chat UI).
A simple way to interact is by sending a POST request to the Chatflow's prediction endpoint.
Assuming you are in a React component and want to trigger the Chatflow logic manually
// src/utils/flowiseApi.ts

const chatflowId = "YOUR_CHATFLOW_ID_FROM_FLOWISE";
const apiHost = "http://localhost:3000";

async function sendMessageToFlowise(message: string): Promise<string> {
  const url = `${apiHost}/api/v1/prediction/${chatflowId}`;

  try {
    const response = await fetch(url, {
      method: 'POST',
      headers: {
        'Content-Type': 'application/json',
      },
      // The payload structure is defined by Flowise for simple prediction
      body: JSON.stringify({
        question: message, // The input you defined in your Chatflow
        // optional: 'overrideConfig' for custom headers/models per request
      }),
    });

    if (!response.ok) {
      throw new Error(`HTTP error! status: ${response.status}`);
    }

    const data = await response.json();
    // The structure often returns an 'text' field for the final answer
    return data.text;

  } catch (error) {
    console.error("Error calling Flowise API:", error);
    return "Sorry, I couldn't process that request.";
  }
}

// Example usage in a React component's useEffect or event handler:
// sendMessageToFlowise("What is the capital of France?").then(answer => console.log(answer));