Unleashing Local AI: Integrating k2-fsa/sherpa-onnx Across 12 Programming Languages
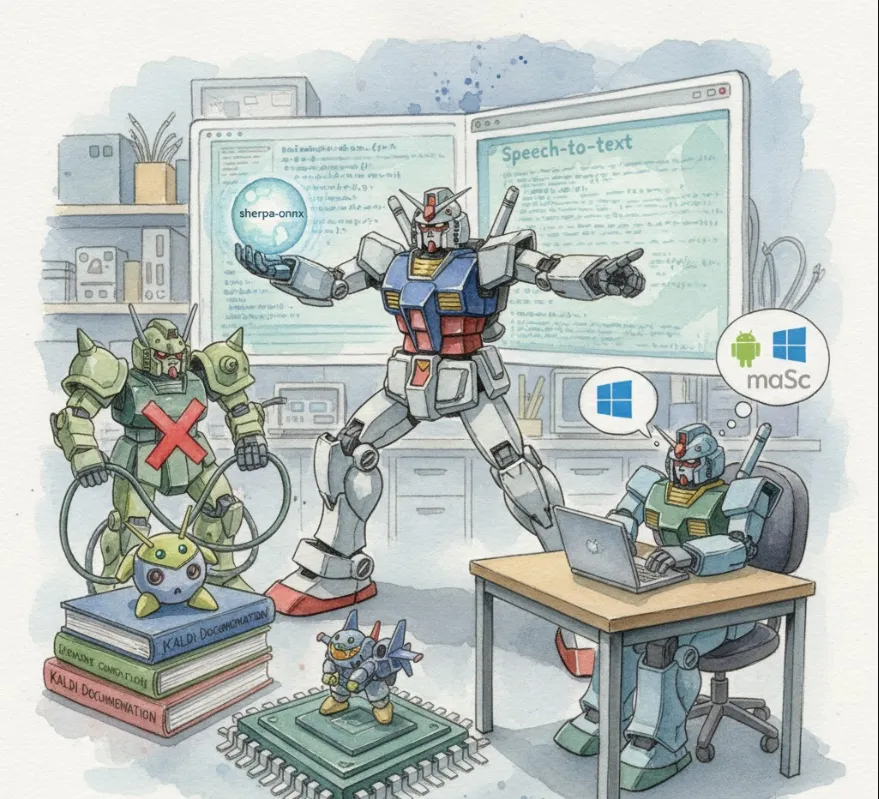
Simply put, it's an open-source, real-time speech and audio processing toolkit built on top of the next-generation Kaldi framework and leveraging ONNX Runtime for high-performance, cross-platform inference.
The core idea is to let you run complex machine learning models for tasks like Speech-to-Text (ASR) and Text-to-Speech (TTS) without needing an internet connection. Everything runs locally!
This toolkit offers several key advantages for developers building modern applications
| Feature | Engineering Benefit | Use Case Example |
| Offline Functionality | Reliability & Low Latency: Your app works anywhere, anytime. Essential for mission-critical or low-connectivity environments. | Voice commands in a field service app, or a smart toy that works without Wi-Fi. |
| Cross-Platform Support | Wider Reach: Supports Android, iOS, Windows, macOS, and even embedded systems like Raspberry Pi and RISC-V. You write the logic once and deploy broadly. | A single codebase for your mobile and desktop voice assistant features. |
| Multiple Functions | Versatility: Combines ASR (Speech-to-Text), TTS (Text-to-Speech), Speaker Diarization, VAD (Voice Activity Detection), and more. | Building a meeting transcription tool that can identify different speakers, filter out background noise, and generate a summary. |
| Language Bindings | Ease of Integration: Supports 12 programming languages (C/C++, Python, Kotlin, C#, Go, Java, Swift, Dart, JavaScript, etc.). | Use Kotlin for your Android app and Python for your backend server. |
Since the toolkit is highly flexible and supports many languages, let's focus on Android integration using Kotlin or Java as it's a common mobile use case, and it specifically addresses one of the platforms you mentioned.
Before writing code, you need a pre-trained model in the ONNX format. The k2-fsa team provides many of these (often hosted on Hugging Face).
Download
Get a model, for example, an ASR model like sherpa-onnx-streaming-zipformer-bilingual-zh-en.
Place it
In your Android project, you'll typically place these model files inside the app/src/main/assets/ directory so they're packaged with your APK.
You'll typically use the pre-built AAR (Android Archive) or add the necessary Maven/Gradle dependencies.
In your app/build.gradle.kts (or build.gradle), you'd add the dependency for the core library
dependencies {
    // Other dependencies...
    implementation("org.k2fsa.sherpa.onnx:sherpa-onnx:LATEST_VERSION")
    // Note: You might need to include platform-specific runtime dependencies as well
}
This example shows the basic structure for initializing an offline speech recognizer and processing audio.
import org.k2fsa.sherpa.onnx.OnlineRecognizer
import org.k2fsa.sherpa.onnx.OnlineRecognizerConfig
import org.k2fsa.sherpa.onnx.FeatureConfig
import org.k2fsa.sherpa.onnx.OnlineStream

// 1. Configuration
val featureConfig = FeatureConfig(
    sampleRate = 16000, // Common audio rate for speech models
    featureDim = 80
)

val recognizerConfig = OnlineRecognizerConfig(
    featConfig = featureConfig,
    // Add other model-specific configurations here (e.g., transducer, tokens, etc.)
    modelConfig = // ... details of your ONNX model files ...
    enableEndpoint = true,
    ruleFsts = "", // for custom grammar
    ruleFars = ""
)

// 2. Initialize the Recognizer
val recognizer = OnlineRecognizer(recognizerConfig)

// 3. Create a Stream for Audio Input
val stream: OnlineStream = recognizer.createStream()

// 4. Process Audio (Simulated Microphone Input)
// In a real app, this would be a loop reading from an AudioRecord instance.
fun processAudio(audioChunk: ShortArray) {
    // Convert short (Int16) array to float array expected by the model
    val samples: FloatArray = audioChunk.map { it.toFloat() / 32768.0f }.toFloatArray()

    // Accept the audio samples
    stream.acceptWaveform(samples)

    // Check for results
    while (recognizer.is  Ready(stream)) {
        recognizer.decodeStream(stream)
    }

    val result = recognizer.getResult(stream)
    if (result.text.isNotEmpty()) {
        println("Partial Transcript: ${result.text}")
    }

    // Check for endpoint (VAD) and reset stream if utterance is complete
    if (recognizer.isEndpoint(stream)) {
        println("Final Transcript: ${result.text}")
        stream.reset() // Prepare for the next utterance
    }
}

// Don't forget to release resources!
fun cleanup() {
    recognizer.release()
}
This example shows how you create a configuration, initialize the OnlineRecognizer, feed it audio chunks via an OnlineStream, and then check for recognition results. The inclusion of isEndpoint also demonstrates the use of the VAD (Voice Activity Detection) feature for detecting when a user has finished speaking.
You can find more detailed and language-specific examples directly on the project's GitHub page for various use cases!