A Developer's Toolkit: Navigating the jaywcjlove/awesome-mac List
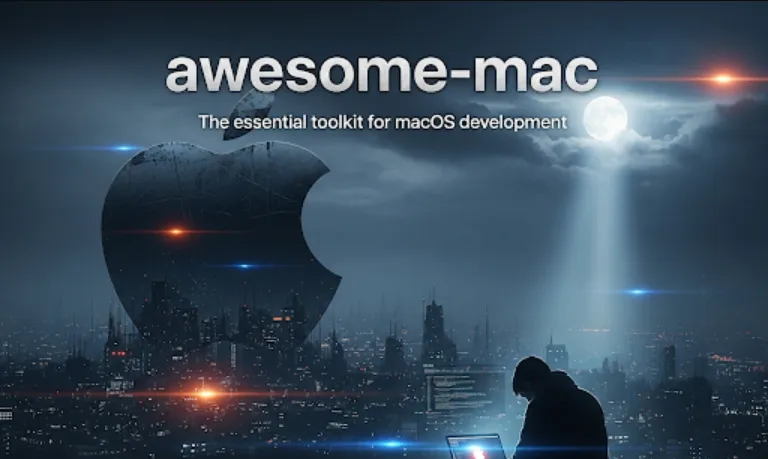
The awesome-mac repository is essentially a curated list of high-quality macOS applications, categorized for easy browsing. For a software engineer, this is incredibly valuable because
Discoverability
It's a goldmine for finding new tools. Instead of spending hours searching for the "best" terminal emulator, text editor, or network monitoring tool, this list provides a pre-vetted selection of top-tier software. It's like having an experienced colleague recommend their favorite applications.
Productivity
The right tools can drastically improve your workflow. The repository helps you find applications that streamline tasks, automate repetitive actions, and enhance your development environment. This includes everything from productivity boosters like Alfred to more specialized tools for designers, system administrators, and developers.
Best Practices
The "awesome" list format, popularized on GitHub, often implies a community-driven effort to identify the best in a particular category. By using tools from this list, you're likely adopting software that is widely used, well-maintained, and follows modern best practices.
Staying Current
The list is regularly updated, so it's a great way to keep up with new and emerging software in the macOS ecosystem.
Using the repository is simple and doesn't require any special setup. Since it's a public GitHub repository, you just need a web browser and an internet connection.
Browse the Repository
Go to the GitHub page for jaywcjlove/awesome-mac. You'll see the README.md file, which is the main list.
Find a Category
The list is organized with clear headings for different categories like "Developers Tools," "Productivity," "Command Line Tools," etc. Just scroll down to the category that interests you.
Explore the Applications
Within each category, you'll find a list of applications. Each entry usually includes
The Application Name
Often with a link to its homepage.
A Brief Description
A short blurb explaining what the app does.
Tags
Sometimes, tags are included to indicate if the app is [open source], [free], or [paid].
While the repository itself doesn't contain code, it's a starting point for building your own scripts or automation. Here's how you might use it in practice.
Let's say you've found a few new command-line tools you want to install. Instead of manually installing each one, you can use the repository to create a Homebrew brewfile to automate the process.
Use Case
You're setting up a new Mac and want to quickly install your essential development tools.
# Create a new file named Brewfile in your user directory
# Open it with your favorite text editor, e.g., VS Code
code ~/Brewfile

# Add the tools you discovered from the awesome-mac repository's
# "Command Line Tools" and "Developer Tools" sections.
# For example, let's say you found Zsh, Git, and a few others.

brew "git"
brew "zsh"
brew "htop" # A popular process viewer
brew "mas"  # Mac App Store command line interface
cask "visual-studio-code"
cask "alfred"
cask "docker"

# Now, from your terminal, run this command to install everything at once
brew bundle
This is super efficient! You can version control this Brewfile with Git and sync it across all your machines.
Use Case
You're interested in mobile development for iOS. You browse the awesome-mac list and find the "Developer Tools" section.
You discover Xcode, Apple's official IDE.
You also find Charles, a web debugging proxy, which could be very useful for monitoring network traffic from a mobile simulator.
You notice iTerm2, a more powerful terminal emulator that will make your command-line work easier.
You would then download and install these applications, and as you start your iOS project, you'd use them in your daily workflow.