Beyond Formatting: Ventoy, Your Ultimate Toolkit for Windows, Linux, and UNIX
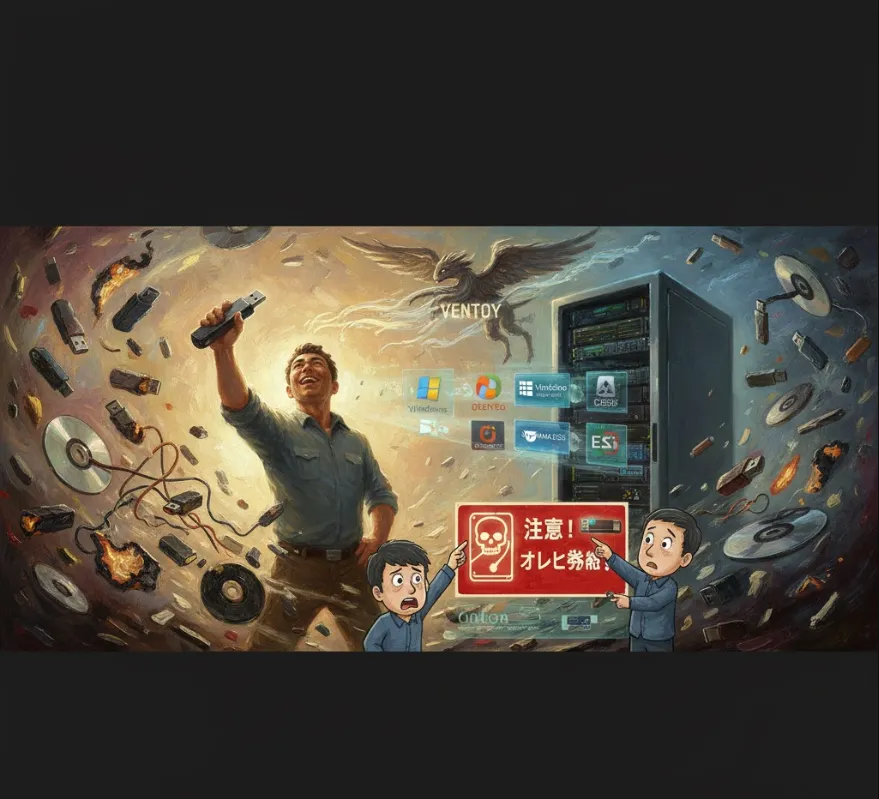
Ventoy is an open-source tool designed to create a bootable USB drive that can hold multiple bootable ISO/WIM/IMG/VHD(x)/EFI files. The magic of Ventoy is that you don't need to format the USB drive repeatedly. Once Ventoy is installed, you simply copy your image files (like a Linux distro, Windows installer, or diagnostic tools) onto the USB drive, and Ventoy automatically presents a menu to boot from them.
As software engineers, we often deal with various operating systems, testing environments, and system recovery tasks. Ventoy provides immense value by
Multi-OS Development & Testing
You can easily keep multiple versions of Linux, Windows, and specialized OS installers on one drive. This is invaluable for testing applications across different environments or quickly setting up new machines.
System Recovery and Diagnostics
Include essential tools like live Linux distributions for data recovery, specialized firmware update images, or disk partitioning tools (e.g., GParted live ISO) all on a single drive.
Quick "Distro Hopping"
If you enjoy experimenting with different Linux distributions, Ventoy eliminates the tedious process of flashing a new image every time. Just download the new ISO and copy it over.
Persistent Environment (with plugins)
While the core function is booting from ISOs, Ventoy has plugin support that can allow you to create persistent Linux environments where your changes and files are saved—great for portable dev environments.
Installing Ventoy is generally a straightforward, one-time process for the USB drive.
Download Ventoy
Get the latest version for your host OS (Windows or Linux) from the official Ventoy website.
Extract the Files
Unzip the downloaded archive.
Run the Installer
On Windows
Run Ventoy2Disk.exe. Select your USB device and click Install. ( Caution
This will erase all data on the USB drive!)
On Linux
Use the shell script for CLI or GUI installation. For CLI, navigate to the extracted directory and run a command like
# Replace /dev/sdX with your actual USB device (e.g., /dev/sdb)
sudo sh Ventoy2Disk.sh -i /dev/sdX
Ventoy will create two partitions on the USB drive
a small partition for the bootloader and a large partition (labeled 'Ventoy') where you'll store your ISOs.
Copy Your Image Files
After installation, simply drag and drop your .iso, .wim, .img, etc., files onto the large 'Ventoy' partition.
One of the best features of Ventoy is that no sample code is required for its core function. It works by treating the USB drive like a standard file system partition where you simply manage files.
Here’s a conceptual "usage" example demonstrating the simplicity
| File Path on Ventoy USB Drive | Description |
/ISOs/Windows/Win11_23H2.iso | Windows 11 installation media. |
/ISOs/Linux/ubuntu-24.04-desktop-amd64.iso | Latest Ubuntu LTS live environment. |
/Tools/gparted-live-1.6.0-2-amd64.iso | A disk partitioning and diagnostic utility. |
When you boot your computer from the Ventoy USB drive, it scans the entire drive and presents a menu listing these three options (and any others you've added), allowing you to boot into any of them.
For advanced users, Ventoy's configuration is done via a JSON file. For instance, to customize the boot menu theme, you might use a ventoy.json file on the USB drive
{
    "menu_class": [
        {
            "class": "Windows",
            "image": "/ISOs/Windows/Win11_23H2.iso"
        },
        {
            "class": "Linux",
            "image": "/ISOs/Linux/ubuntu-24.04-desktop-amd64.iso"
        }
    ],
    "theme": {
        "file": "/ventoy/theme/my_cool_theme/theme.txt",
        "font": "/ventoy/theme/my_cool_theme/font.ttf"
    }
}
This configuration snippet, while not "code," demonstrates how a software engineer can manage complex boot scenarios and customize the user experience through structured data files.