From Code to Kilowatts: Integrating evcc for Smart EV Solar Surplus Charging
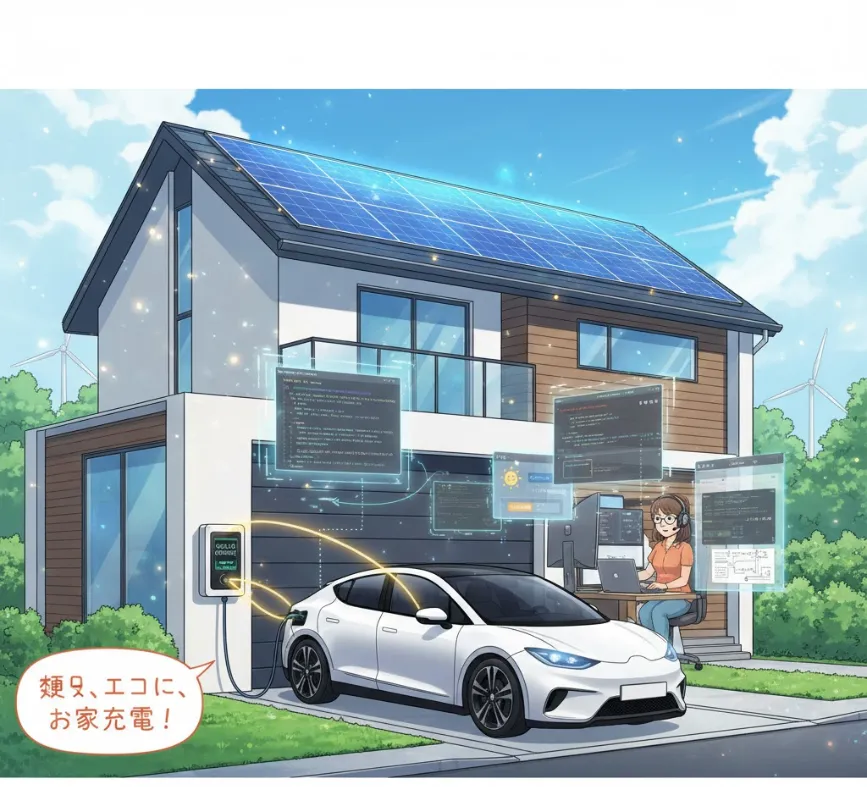
evcc is an open-source, Go (Golang) based energy management system primarily focused on controlling EV charging to maximize the use of your surplus photovoltaic (PV) solar energy.
The core of evcc is about intelligent decision-making, data aggregation, and hardware control—all things that should appeal to a software developer.
| Feature | Details (Engineer's View) |
| Core Technology | Written in Go, making it highly efficient, fast, and easy to deploy (e.g., on a Raspberry Pi or in a Docker container). |
| Primary Goal | Surplus Solar Charging: Dynamically adjusts the EV charging current in real-time to match the excess solar power being generated (the amount you would otherwise feed back into the grid). |
| Architecture | Plugin-based and Highly Integrable: Uses a flexible architecture to communicate with various devices and systems. |
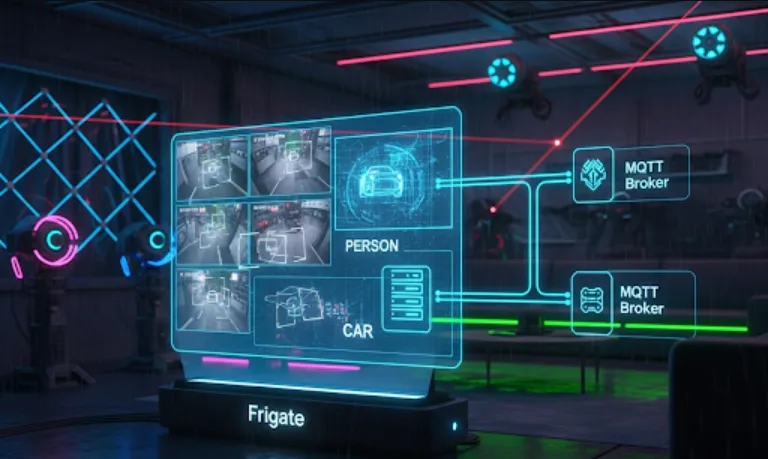
| Protocols & Integrations | Modbus, SunSpec, HTTP, JSON, REST, MQTT, JavaScript (JS), Shell, Home Assistant, openHAB, ioBroker. This extensive compatibility is key. |
| Data Aggregation | Collects data from multiple sources: PV inverters, home batteries, smart meters (grid import/export), EV chargers (wallboxes), and EV APIs (State of Charge (SOC), odometer). |
| Control | Controls the EV charger's current/power output. For basic devices, it can use smart plugs as an on/off switch (though this is less ideal for precise current control). |
From a software engineering standpoint, evcc offers a fantastic platform for solving a real-world, complex optimization problem
local energy management.
System Integration & API Mastery
You get to work with a multitude of proprietary and standard communication protocols (Modbus, MQTT, REST). If you're building a home automation system, this is an excellent central component to manage all your energy devices.
Real-time Optimization Algorithm
The core logic for solar charging is a continuous control loop. It reads the total available surplus (PV Generation - House Consumption), calculates the maximum current the EV can draw without importing from the grid, and sends this adjustment to the charger—often every few seconds. This is a great exercise in robust, real-time control logic.
Extensibility (Go & Plugins)
Since it's open-source and written in Go, you can extend its functionality. If you have an unsupported meter or EV charger, you can write a new plugin (meter, charger, or vehicle) to integrate it with the existing architecture.
YAML-based Configuration
Configuration is handled via YAML files, which gives you complete, version-controllable, and scriptable control over your setup. This is much better than vendor-locked, UI-only solutions.
MQTT and Home Assistant Interface
For those into broader smart home automation, evcc exposes its state and can be controlled via MQTT and a native Home Assistant integration. This allows you to build custom dashboards, logging, and automation workflows on top of the core evcc logic.
The easiest and most common way to install evcc for maximum control and portability is using Docker.
A host system (Raspberry Pi, Linux server, Synology NAS) capable of running Docker.
Knowledge of your energy device's $\text{API}$s/protocols (e.g., the IP address of your PV inverter, the Modbus port, or the REST API endpoint of your wallbox).
Pull the Docker Image
docker pull evcc/evcc
Create a Configuration File
The setup is driven entirely by a evcc.yaml configuration file. Create a file in a persistent directory (e.g., /home/user/evcc/evcc.yaml).
Run the Container
Map the configuration file and use the host network to allow the container to communicate with local devices (inverters, chargers).
docker run -d \
  --name evcc \
  --restart unless-stopped \
  --net=host \
  -v /home/user/evcc/evcc.yaml:/etc/evcc.yaml \
  evcc/evcc
The web interface will then be available on http://<your-host-ip>:7070.
The real power is in the configuration. Here is a simplified, conceptual example of how you configure the system to prioritize solar surplus charging.
This example assumes you have a solar inverter (source of PV power), a grid meter (to measure surplus/draw), and a controllable EV charger (wallbox).
# 1. Site configuration - Defines the overall energy balance
site:
  title: "My Home Energy System"

  # Grid meter: This is essential to know if you are importing or exporting power.
  # Here, we assume a device that can be queried over a simple HTTP REST API.
  grid:
    type: custom
    power: # defines how to read the current grid power in W
      type: http
      uri: http://192.168.1.10/api/v1/grid_power # Example API endpoint
      jq: .powerValue
      scale: 1 # Scale is 1, as the JSON returns Watts directly

  # PV (Solar) meter: Measures production.
  pv:
    - type: template
      template: fronius # Use a pre-defined template for common inverters
      host: 192.168.1.20 # IP of your Fronius inverter

# 2. EV Charger configuration (Wallbox)
# This is the device evcc will control to adjust the charging current.
chargers:
  - name: myevcharger
    type: wallbox # Use a template for a common wallbox
    host: 192.168.1.30 # IP of the wallbox

# 3. EV configuration (Optional, for smarter control like SOC and charge limit)
vehicles:
  - name: myev
    type: tesla
    title: My Tesla Model 3
    # Tesla integration requires API tokens / login details
    tokens: /etc/evcc/tesla.tokens

# 4. Loadpoint configuration - Ties the charger, vehicle, and charging strategy together
loadpoints:
  - name: carport
    charger: myevcharger
    vehicle: myev
    title: Carport Charger

    # **The Core Solar Logic:**
    #
    # mode: The charging strategy.
    #   - 'off': Charging disabled.
    #   - 'now': Charge immediately at max power (ignoring solar/price).
    #   - 'minpv': **Charge only with solar surplus (our target).**
    #   - 'pv': Same as minpv, but allows charging to start at min current (e.g. 6A) even if solar is slightly insufficient.
    mode: minpv

    # Mininum amount of surplus power needed to start charging (e.g., 100W)
    minCurrent: 6 # Minimum current in Amps (corresponds to ~1.4kW on 1 phase)
    maxCurrent: 16 # Maximum current in Amps
If your hardware isn't supported, the architectural choice of Go makes it easy to integrate. evcc defines clear interfaces (like api.Meter for grid/PV reading, or api.Charger for control).
Since the logic runs on the Go runtime, you can write a custom Go module that implements the necessary interface and compile it with your version of evcc.
Alternatively, for simple REST or MQTT devices, you often don't need to write Go code at all! The type: custom and MQTT configurations allow you to define how to read/write values using built-in mechanisms like JSONPath or JQ (as shown in the sample code's grid meter).
Example of a hypothetical custom MQTT meter for your home-built project
grid:
  type: mqtt
  topic: 'home/meter/grid/power' # The MQTT topic where your sensor publishes grid power
  template: '{{ . * -1 }}' # Inverts the value: positive is export, negative is import
  qos: 0
  timeout: 10s