From Spring Boot to AI Agent: An Introduction to alibaba/spring-ai-alibaba
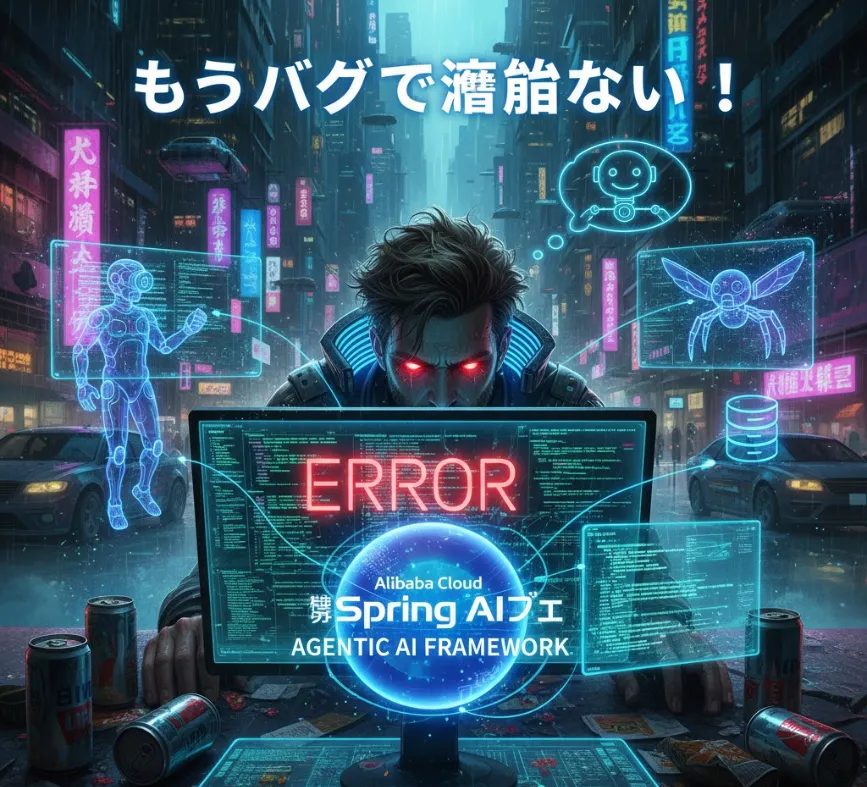
This framework is essentially an Agentic AI Framework for Java Developers, built on top of the foundation of Spring AI, but with a focus on building more complex, production-ready AI applications, especially multi-agent systems and workflows.
Spring Ecosystem Integration
If you're a Java developer already familiar with Spring Boot/Spring Cloud, this framework is a natural fit. You can leverage your existing skills, conventions, and infrastructure (like dependency injection, configuration management) to build AI-powered applications, making the adoption curve much smoother than learning an entirely new ecosystem.
Agent Orchestration (Graph-based Multi-agent Framework)
This is a huge benefit! Building intelligent applications often requires chaining multiple steps or "agents" together (e.g., one agent for planning, one for retrieving data, one for final synthesis). This framework provides a Graph-based Multi-agent Framework (inspired by concepts like LangGraph) to easily define and manage these complex workflows and multi-agent systems, handling the underlying complexity of process orchestration and context memory management for you. This moves you beyond simple chatbot functionality into more robust, task-oriented applications.
Abstraction and Simplification
It offers high-level abstractions for common AI patterns like RAG (Retrieval-Augmented Generation), ChatMemory, and Tools/Function Calling. This means you spend less time on boilerplate code for interacting with LLMs (Large Language Models) and more time on the unique business logic of your application.
Production Readiness
The framework is designed with enterprise-level production in mind, including deep integration with cloud-native infrastructure components like gateways, observability tools (e.g., ARMS), and vector databases, especially within the Alibaba Cloud ecosystem. This helps speed up the transition of your AI prototypes ("Demos") into reliable, scalable production systems.
Since this framework builds on Spring AI and Spring Boot, the introduction is typically done via standard Maven or Gradle dependency management.
You would start with a standard Spring Boot project. Then, you'd add the necessary dependencies. While the specific dependency names can change, you generally need the core framework and any specific modules you plan to use (like a particular LLM adapter or the Graph module).
In your pom.xml (Maven) file, you would typically include the BOM (Bill of Materials) for version management and then the core starter
<spring-ai-alibaba.version>1.0.0.X</spring-ai-alibaba.version>

<dependency>
    <groupId>com.alibaba.cloud</groupId>
    <artifactId>spring-ai-alibaba-core</artifactId>
    <version>${spring-ai-alibaba.version}</version>
</dependency>
<dependency>
    <groupId>com.alibaba.cloud</groupId>
    <artifactId>spring-ai-alibaba-graph</artifactId>
    <version>${spring-ai-alibaba.version}</version>
</dependency>
You'll need to configure your application to point to the correct LLM service and provide credentials. This is usually done in your application.properties or application.yml file, similar to other Spring Boot configurations.
# Example for configuring a model provider (names are illustrative)
spring.ai.alibaba.bailian.api-key=YOUR_API_KEY
spring.ai.alibaba.bailian.model=qwen-max
# ... other configurations like RAG settings, etc.
Even though the framework focuses on agents, let's start with a simple interaction, as you'd do with Spring AI, to show the familiar Spring integration.
You can inject the core abstraction, often a ChatClient (or similar component) into a Spring component, and use it to get responses from the LLM.
import org.springframework.ai.chat.client.ChatClient;
import org.springframework.stereotype.Service;

@Service
public class AiAssistanceService {

    private final ChatClient chatClient;

    // Spring's dependency injection
    public AiAssistanceService(ChatClient chatClient) {
        this.chatClient = chatClient;
    }

    /**
     * Sends a simple prompt to the LLM and returns the response.
     */
    public String getAiResponse(String userPrompt) {

        // Use the ChatClient to fluently define the request
        String response = chatClient.prompt()
            .user(userPrompt)
            .call()
            .content();

        return response;
    }

    // You can then call this from a Spring REST Controller:
    // @GetMapping("/ask")
    // public String ask(@RequestParam String question) {
    //     return aiAssistanceService.getAiResponse(question);
    // }
}
For the Agentic part, the Graph-based Multi-agent Framework is the key. This allows you to define a state and a sequence of nodes (agents or functions) that process that state.
While the exact syntax can be complex and depends on the specific framework version, here is a conceptual look at how you might define a simple workflow (like a Plan-and-Execute agent)
// CONCEPTUAL EXAMPLE: Defining a simple workflow graph

import com.alibaba.cloud.ai.graph.AgenticGraph;
import com.alibaba.cloud.ai.graph.GraphState;
// ... other necessary imports (Node definitions, etc.)

// 1. Define the State of your workflow (what data is passed between steps)
// This state would hold the initial prompt, the current plan, the executed result, etc.
public class ResearchWorkflowState extends GraphState {
    private String userQuery;
    private String plan;
    private String finalReport;
    // Getters and Setters...
}

// 2. Define the Nodes (the individual agents or functions)
// e.g., a node that calls an LLM to generate a plan
public class PlanningNode extends AbstractGraphNode<ResearchWorkflowState> {
    // Logic to call LLM: "Given userQuery, create a plan."
    @Override
    public ResearchWorkflowState execute(ResearchWorkflowState state) {
        // state.setPlan(llm.generatePlan(state.getUserQuery()));
        return state;
    }
}

// e.g., a node that calls a RAG service to find info based on the plan
public class RetrievalNode extends AbstractGraphNode<ResearchWorkflowState> {
    // Logic to search knowledge base based on the plan
    // ...
}

// 3. Build the Graph
public AgenticGraph<ResearchWorkflowState> buildResearchGraph() {
    return AgenticGraph.<ResearchWorkflowState>builder()
        .startWith(new PlanningNode())                   // Step 1: Start by creating a plan
        .addEdge(PlanningNode.class, RetrievalNode.class) // Next: Go to retrieval
        .addEdge(RetrievalNode.class, SynthesisNode.class)  // Next: Go to synthesis
        .finishWith(SynthesisNode.class)                 // End: The final node produces the output
        .build();
}
By using this Graph approach, you can easily visualize, modify, and manage the complex execution flow of your intelligent agents without manually writing all the state passing and conditional logic.