Evolution API: Self-Hosted WhatsApp Integration for Developers
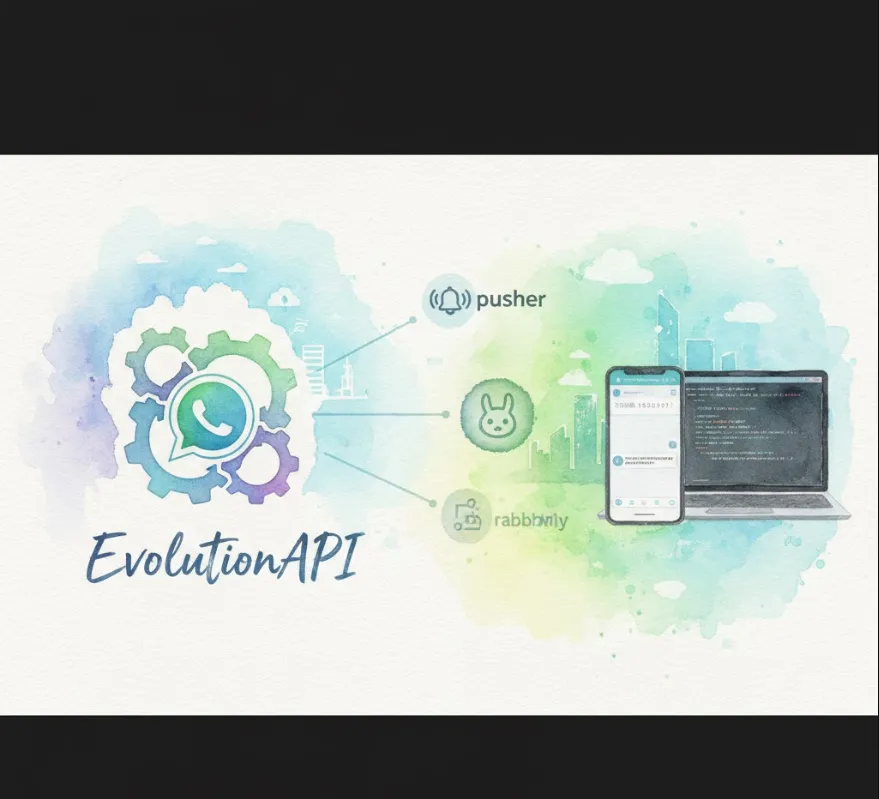
Here is a friendly, detailed breakdown from a software engineer's perspective, covering its utility, implementation, and code examples.
Evolution API is an open-source WhatsApp integration API. As a software engineer, you should view it as a self-hosted, powerful gateway that allows your applications to send and receive WhatsApp messages without having to deal directly with the complexity of the WhatsApp Web protocol or the official Business API's limitations and costs for certain use cases.
This tool offers several compelling advantages for development projects
Rapid Prototyping and Development
It provides a simple, clean REST API interface. This means you can use standard HTTP requests (e.g., POST requests to send a message) from any programming language or framework, drastically speeding up the development of WhatsApp-enabled features.
WebHook Event Handling
The API uses WebHooks (likely via pusher or a similar mechanism, as noted in the tags) to notify your application of incoming messages or status updates (like delivery receipts). This event-driven architecture is crucial for building real-time applications like chatbots or customer support systems.
Open Source Flexibility
Being open source, you have full control over the code. You can deploy it in your own infrastructure, customize its behavior, and audit its security. This is a significant benefit over proprietary services.
Decoupling
It acts as a middleware layer. Your main application doesn't need to know the specific technical details of WhatsApp's communication. It just sends a simple API call to your running Evolution API instance. This makes your system more maintainable and allows you to swap out the WhatsApp gateway if needed.
Simplified Scalability (via RabbitMQ)
The use of RabbitMQ suggests that the API is designed to handle message queues, which is a key pattern for scalability. Instead of sending messages directly, your application can queue them up, and the Evolution API worker processes can handle sending them reliably. This prevents your primary application from being blocked while waiting for message sends to complete.
To use Evolution API in your project, you'll generally follow these steps
Since it's self-hosted, your first step is deployment.
Prerequisites
You'll typically need Node.js (since the project is often written in JavaScript/TypeScript) and Docker for easy deployment of the API, RabbitMQ, and any database components.
Clone the Repository
git clone https://github.com/EvolutionAPI/evolution-api.git
cd evolution-api
Configuration
You'll need to configure environment variables, especially for RabbitMQ connection details and your desired Webhook URL (where the API will send events to your application).
Deployment
The project usually provides a docker-compose.yml file. You can spin up the entire required stack with one command
docker-compose up -d
Before sending messages, you must connect a WhatsApp account (a "session" or "instance").
Create an Instance
You'll make an API call to the running Evolution API to create a new session. The response will usually contain a QR code string or a URL.
Scan the QR Code
You'll typically render the QR code for a user to scan with their official WhatsApp mobile app to link the session. This is an initial setup step.
Check Status
Once scanned, the instance will transition to a "connected" status, and your application can begin interacting with it.
Here are conceptual examples for common operations, written in a friendly, language-agnostic way (using curl for simplicity, but you can easily translate this to Python's requests, Node's fetch, etc.).
Assume your Evolution API is running at http://localhost:8080 and your instance ID is my_app_instance.
This is the initial setup step to get the QR code.
# Request to create a new session
curl -X POST 'http://localhost:8080/instance/create' \
-H 'Content-Type: application/json' \
-d '{
    "instanceName": "my_app_instance",
    "webhookUrl": "https://your-server.com/whatsapp/events"
}'

# Expected (Simplified) Response:
# {
#   "status": "success",
#   "qrcode": "data:image/png;base64,iVBORw0KGgoAAA...",
#   "instanceId": "my_app_instance"
# }
Developer Note
Your application needs to display that qrcode data to the user for scanning.
This is the core functionality—sending a message to a user.
# Request to send a message to a specific number
curl -X POST 'http://localhost:8080/instance/send/my_app_instance' \
-H 'Content-Type: application/json' \
-d '{
    "number": "5511988887777",  # Recipient's phone number (with country code)
    "message": "Hello from the app! How can I help you today?"
}'

# Expected (Simplified) Response:
# {
#   "status": "success",
#   "id": "[email protected]_ABCD..." # Message ID for tracking
# }
This isn't code you send, but code you receive. This is what the Evolution API sends to your configured webhookUrl when a user messages you.
# Received POST request payload at your application's webhook URL
{
  "event": "message:in",
  "instanceId": "my_app_instance",
  "data": {
    "id": "[email protected]_EFGH...",
    "from": "5511988887777",
    "type": "chat",
    "text": "I need support with my order.",
    "timestamp": 1678886400
    // ... other message details
  }
}
Developer Note
Your application must be listening at the webhookUrl and be ready to process this JSON payload to respond to users. This is where your business logic (e.g., chatbot replies, ticket creation) goes.